This guide follows the Welcome to CodeSplash AI tour in CodeSplash AI 2.4.20. Open Settings → Learn and choose the matching tour. The walkthrough was recorded in the actual app in Default Dark at 3840 × 2160.
Watch the matching tutorial video. The website and YouTube use the same walkthrough.
Follow the tour
Welcome to CodeSplash AI
This is the app with no project open. Follow the highlighted controls to learn where things live. Previous, Next, arrow keys, and Exit are always available.
Choose your first project
Click Choose a repository to open your project library.
Open an existing project
Open repository shows the folder picker. Choose a project, or cancel to keep touring. Next continues without opening a picker.
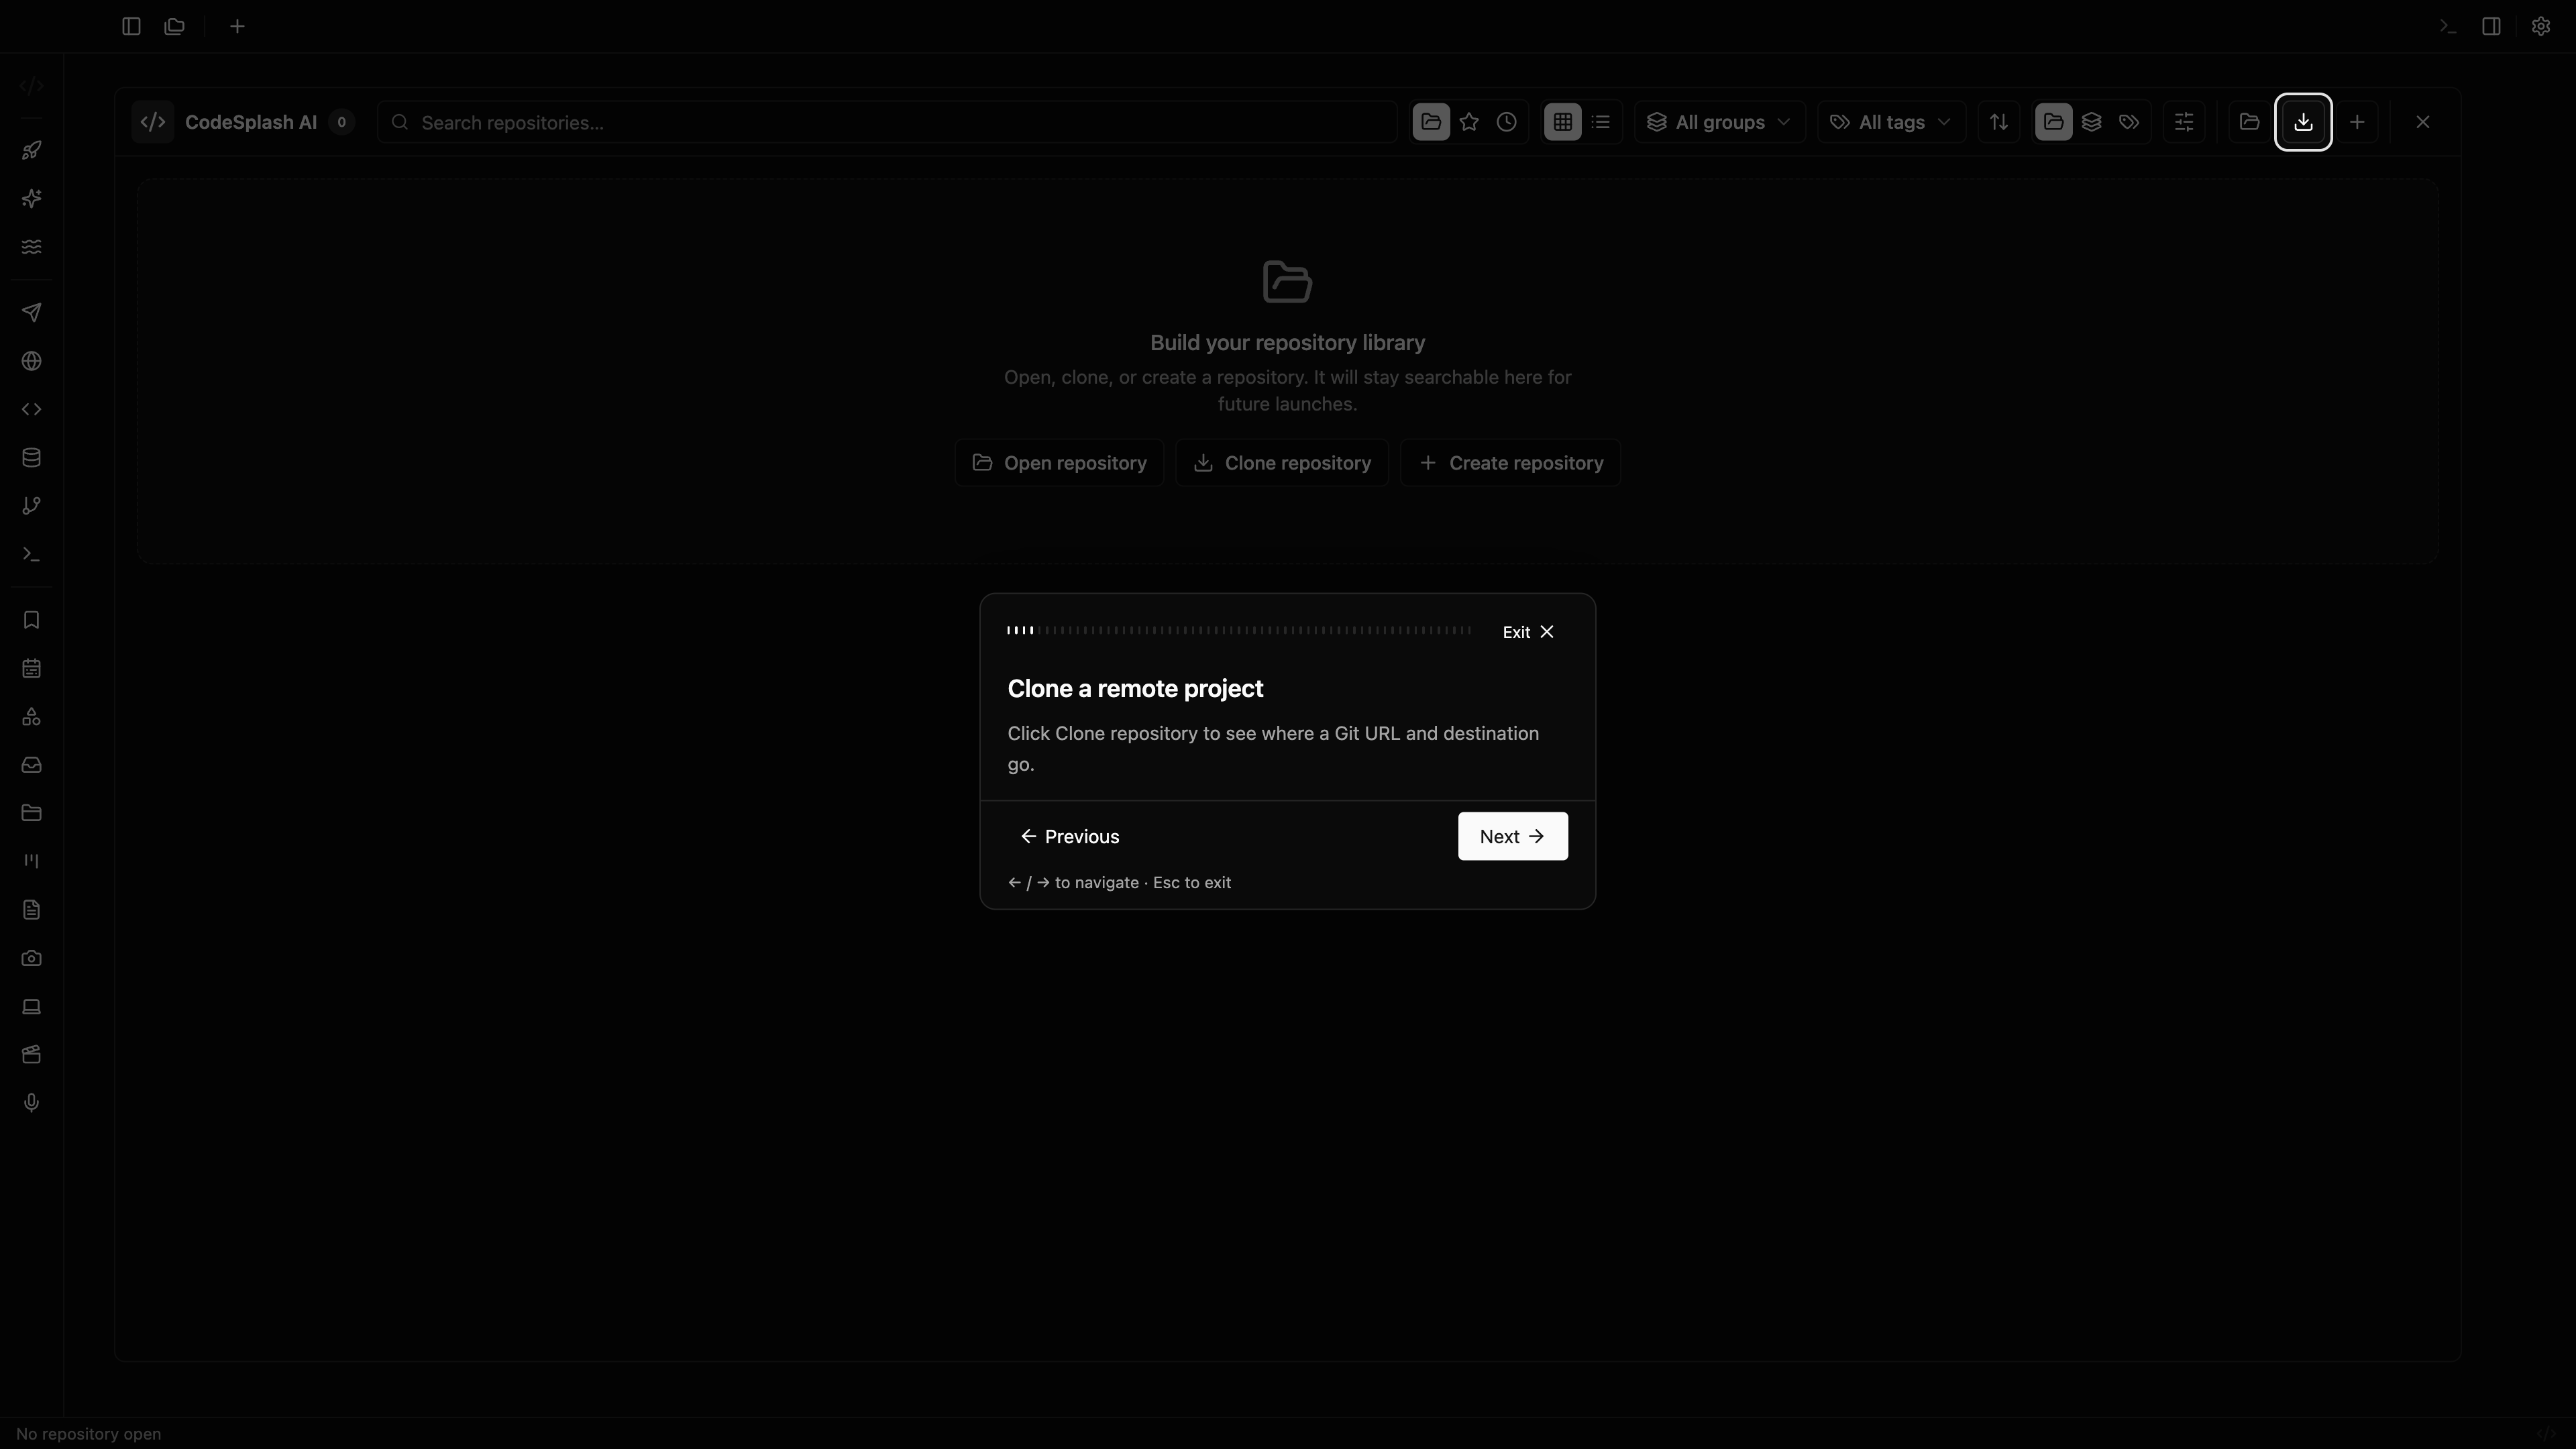
Clone a remote project
Click Clone repository to see where a Git URL and destination go.
A URL and a destination
This is the real clone form. No download is required for the tour. Close it to continue.
Create a new project
Click Create repository to open the project setup wizard.
Start with a folder
The wizard asks for a folder, then Git preferences. Close it to continue; nothing has been created.
Return to the app
Close the library to find the apps in the side menu.
Collapse the side menu
Click this button to make more room for your work. App icons stay available.
Show the app names
Click the same button again to expand the menu.
Find apps by group
This control changes how your apps are grouped. Group by type puts AI, Development, and Productivity together.
AI · AI Agents
Here is the AI group. Launch and manage coding agents side by side. This is the live app. Getting Started is opened for these previews if you have no project selected. Click its app button or Next to continue.
AI · AI Chat
Chat with AI models and manage conversations. This is the live app. Click its app button or Next to continue.
AI · AI Vibes
Build apps with AI and manage projects, prompts and context. This is the live app. Click its app button or Next to continue.
Development · API
Here is the Development group. Build HTTP requests and inspect responses. This is the live app. Click its app button or Next to continue.
Development · Browser
Browse websites and preview your web apps. This is the live app. Click its app button or Next to continue.
Development · Code
Explore, edit and search your project files. This is the live app. Click its app button or Next to continue.
Development · Database
Connect to databases, browse data and run queries. This is the live app. Click its app button or Next to continue.
Development · Git
Review changes, stage files, commit and explore branch history. This is the live app. Click its app button or Next to continue.
Development · Terminal
Run shell commands and manage terminal sessions. This is the live app. Click its app button or Next to continue.
Productivity · Bookmarks
Here is the Productivity group. Save and organize links. This is the live app. Click its app button or Next to continue.
Productivity · Calendar
Plan your schedule and manage events. This is the live app. Click its app button or Next to continue.
Productivity · Diagrams
Draw diagrams and visual plans. This is the live app. Click its app button or Next to continue.
Productivity · Email
Read and manage connected mailboxes. This is the live app. Click its app button or Next to continue.
Productivity · Files
Browse and manage files on your machine. This is the live app. Click its app button or Next to continue.
Productivity · Kanban
Track tasks on boards. This is the live app. Click its app button or Next to continue.
Productivity · Notes
Write and organize notes and documents. This is the live app. Click its app button or Next to continue.
Productivity · Screenshot
Capture and annotate screenshots. This is the live app. Click its app button or Next to continue.
Productivity · System
Inspect your machine and system activity. This is the live app. Click its app button or Next to continue.
Productivity · Video
Edit video projects and arrange clips. This is the live app. Click its app button or Next to continue.
Productivity · Voice
Record audio and work with transcriptions. This is the live app. Click its app button or Next to continue.
Your app fills the main view
In Tabs mode, the selected app occupies the main view. Every app preview you just visited was the real interface in your project.
Add a project tab
The + button opens your repository library. Open, clone, or create another project from there.
The same three ways to begin
The library is shared by the starting screen and new tabs. Close it to explore Workspaces.
Switch to Workspaces
Click the layout switch. Workspaces gives each project tab a canvas for multiple app panels.
Choose a project for a workspace tab
The workspace + button also opens your repository library.
Projects have their own canvas
Open, clone, or create a project here. Close the library to explore the panel controls first.
Add AI Agents
Launch and manage coding agents side by side. Click its real app button to add a panel. You can open the other apps in its group the same way.
Add Code
Explore, edit and search your project files. Click its real app button to add a panel. You can open the other apps in its group the same way.
Add Git
Review changes, stage files, commit and explore branch history. Click its real app button to add a panel. You can open the other apps in its group the same way.
Apps side by side
These are real app panels. Drag a panel title to move it or a divider to resize. Next continues to the panel buttons.
Give one panel more room
Maximize this panel to fill the canvas.
Return to the shared canvas
Click the same control to restore the panel alongside the others.
Keep a panel for later
Minimize parks the panel in the strip below the canvas.
Bring the panel back
Click its button in the minimized strip to restore it.
Close a panel
Close removes this panel. Your other panels stay open.
Organize work in workspaces
Open the workspace menu to switch contexts or start another workspace.
Create another workspace
New Workspace opens the repository chooser. Multiple workspaces require Pro; Next continues if this is unavailable.
A project for the new workspace
Choose a repository to create the workspace, or close this library to continue learning.
Open Settings
Click the gear to configure the platform and its apps.
General settings
General holds project defaults and platform preferences. Click it to see the actual settings.
Appearance
Choose themes, layout, and display preferences here. Any theme you choose also applies to this guide.
Make it yours
You can change your theme in this real Appearance page. Your choice is saved. Use Next when ready.
AI settings
Configure coding agents here. AI Chat and AI Vibes settings are in this same group.
Development settings
Editor preferences live here. Git, Terminal, API, Browser, and Database settings are beside them in Development.
Productivity settings
Configure Notes here. Other productivity apps have their own rows in this group.
Search Settings
Type a preference such as “theme” in the actual search field. Select a result to go to that setting, then continue.
Return to Learn
Getting started contains orientation and feature tutorials. What’s new contains the full release history with walkthroughs and screenshots.
Keep learning
Explore Getting started, What’s new, and Resources here. You can return and start any tutorial later.
Stay in touch
These are the CodeSplash AI links for videos, updates, and the community. Click a link to visit, or Next to finish.
You’re ready to explore
Start exploring opens Getting Started in Tabs, with its README ready. Or choose your own project. Next cycles through this guide again.
Feature screenshots
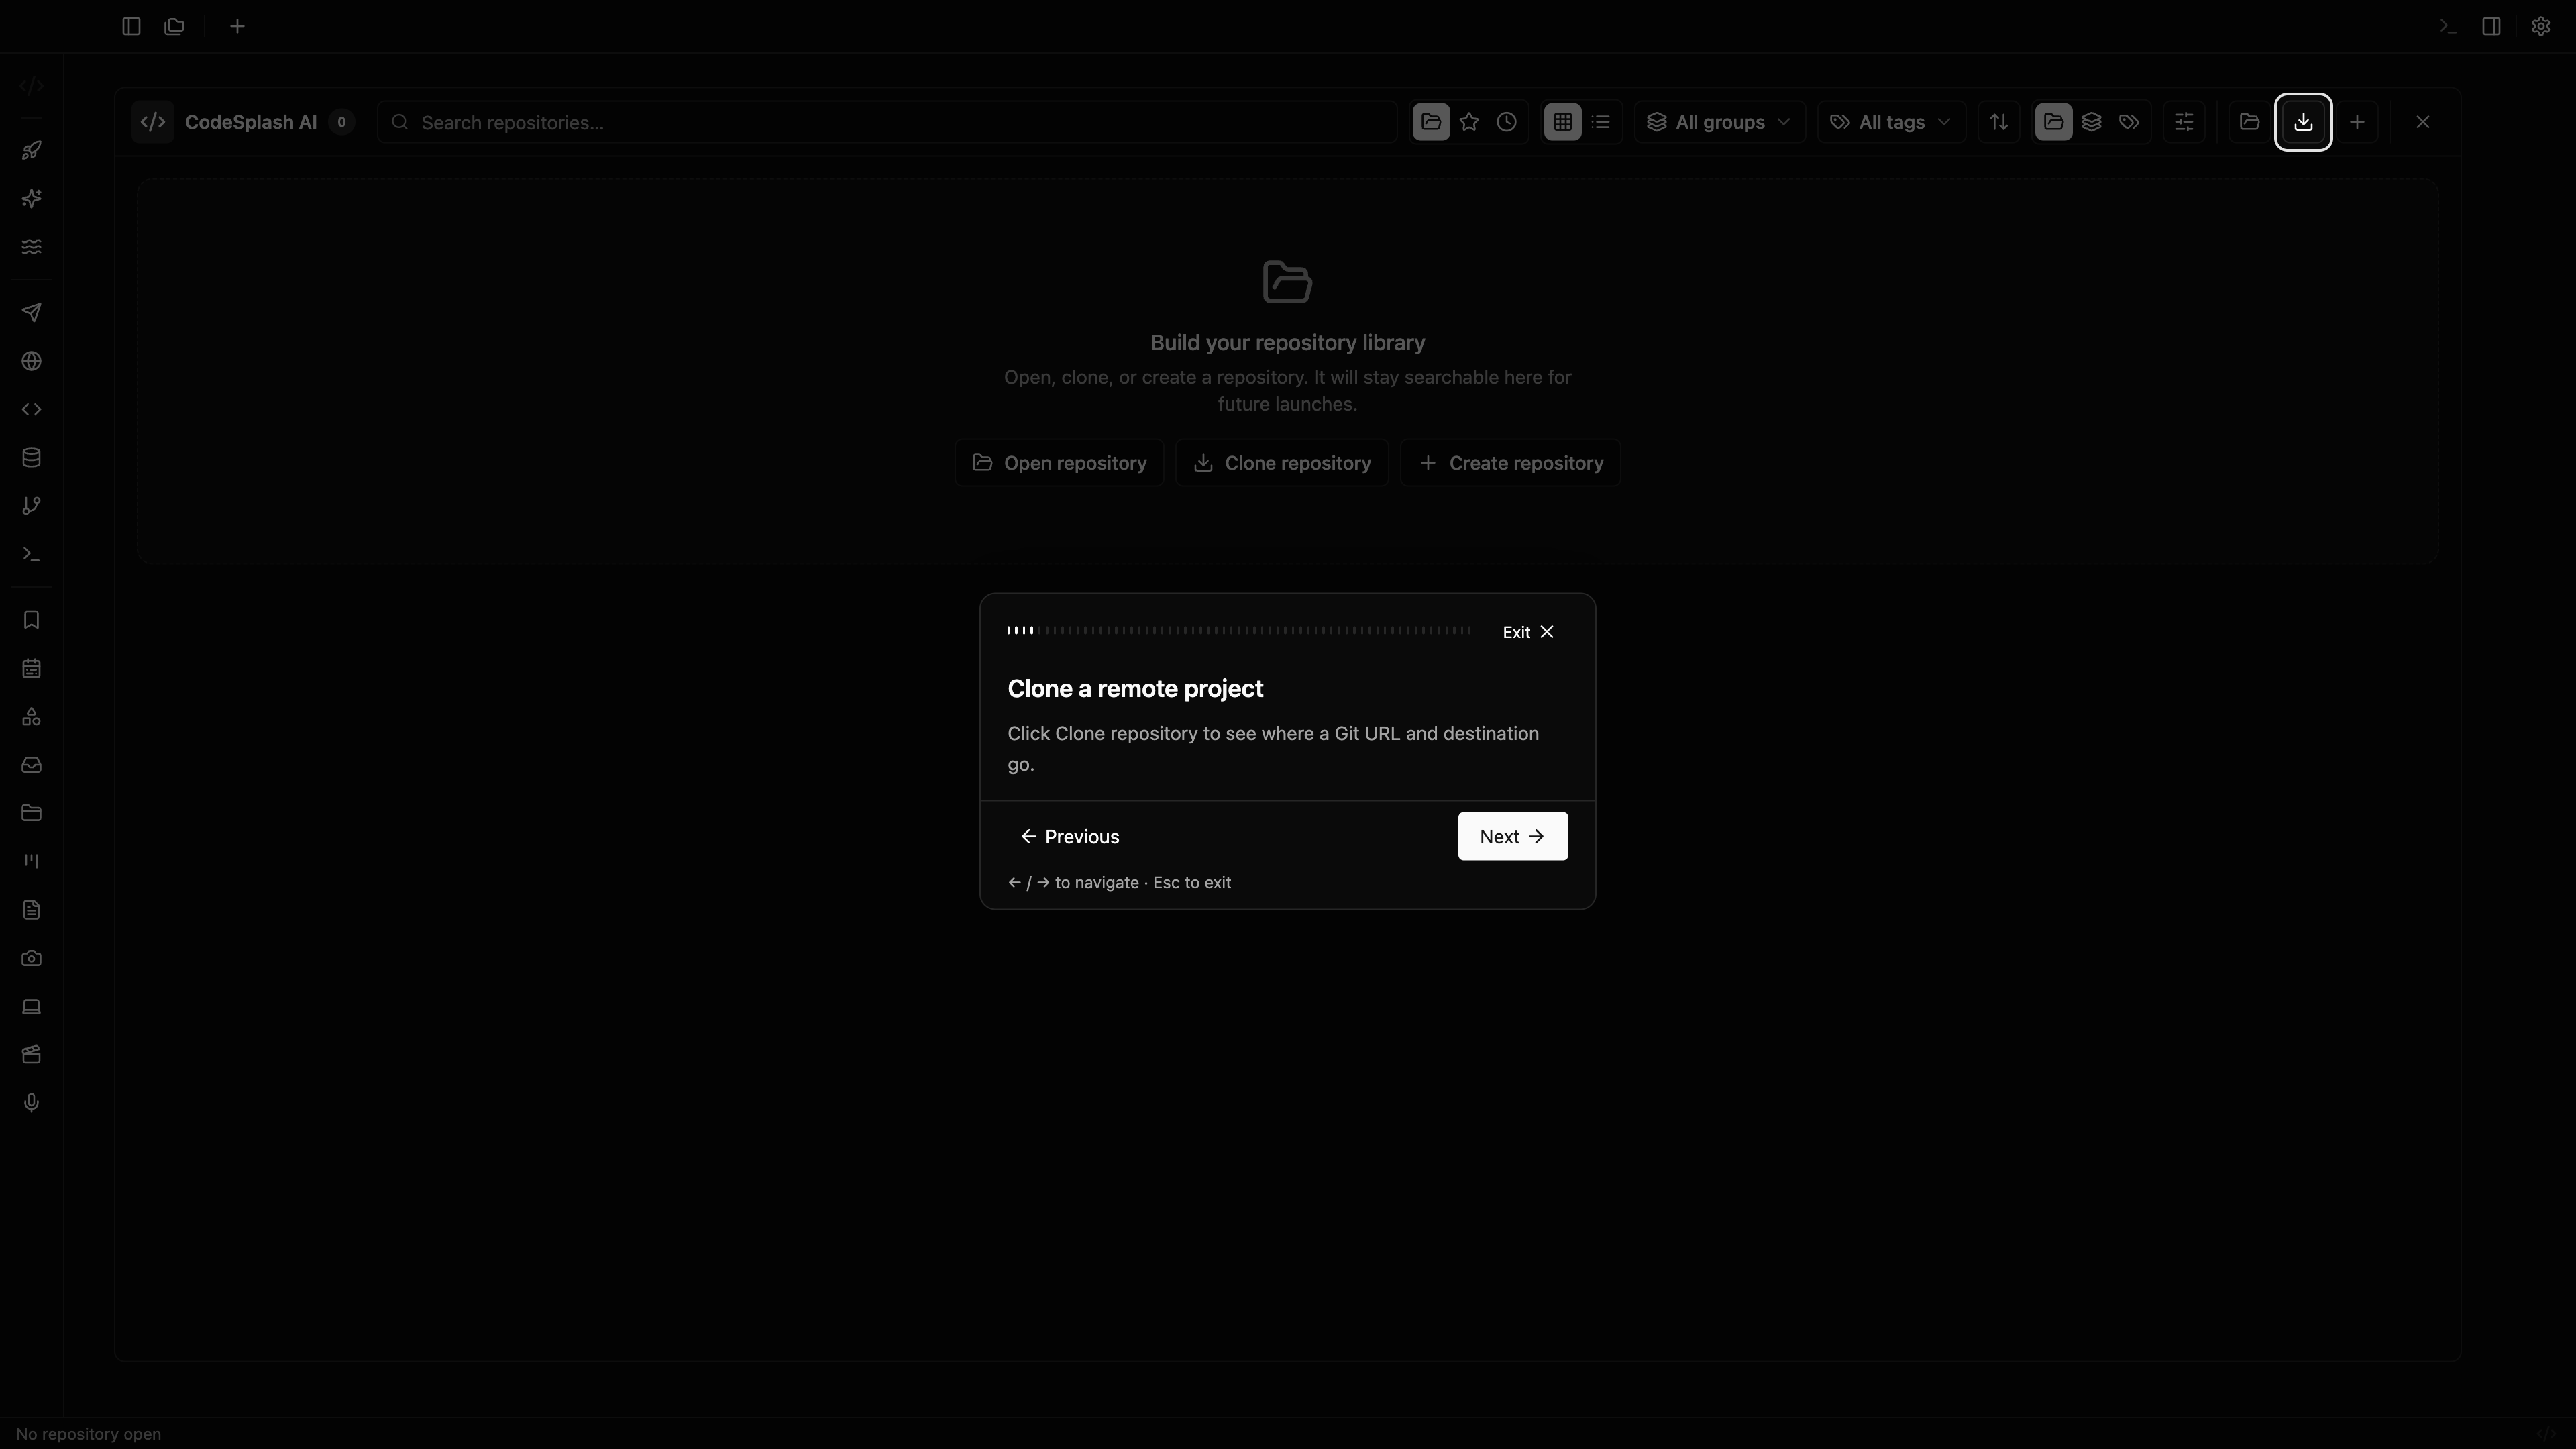
Clone a remote project · View the original 4K screenshot
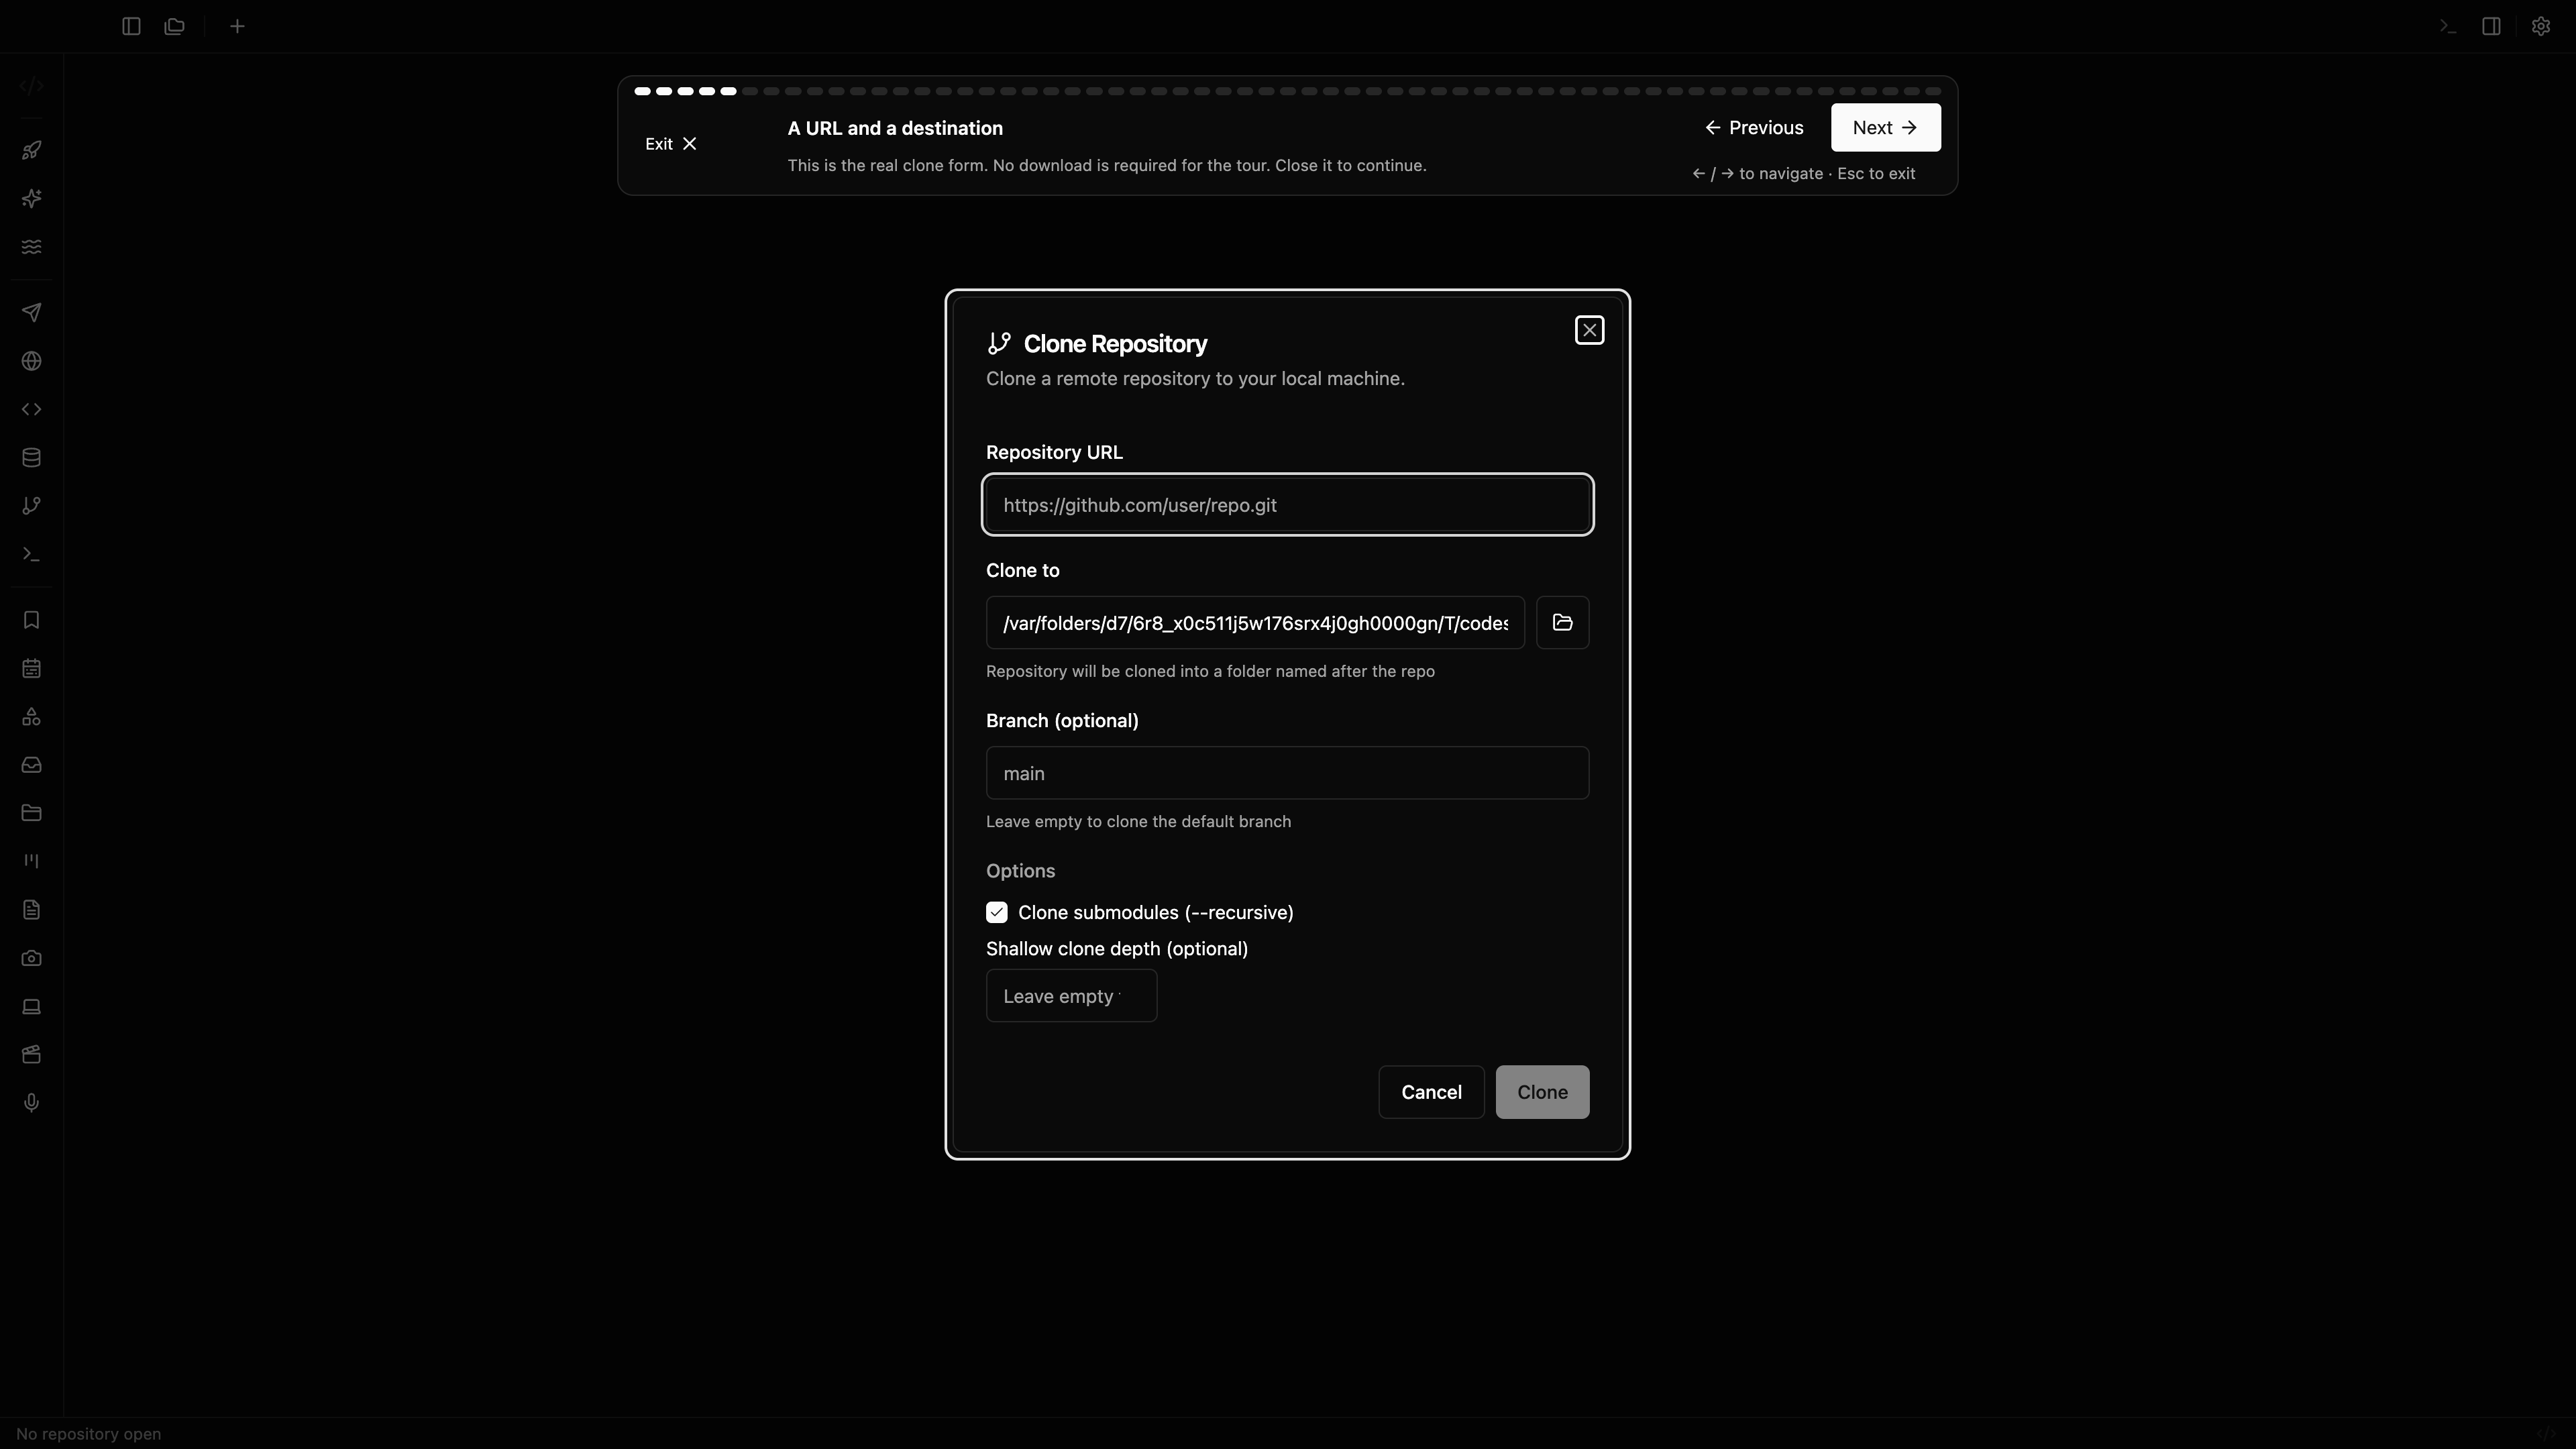
A URL and a destination · View the original 4K screenshot
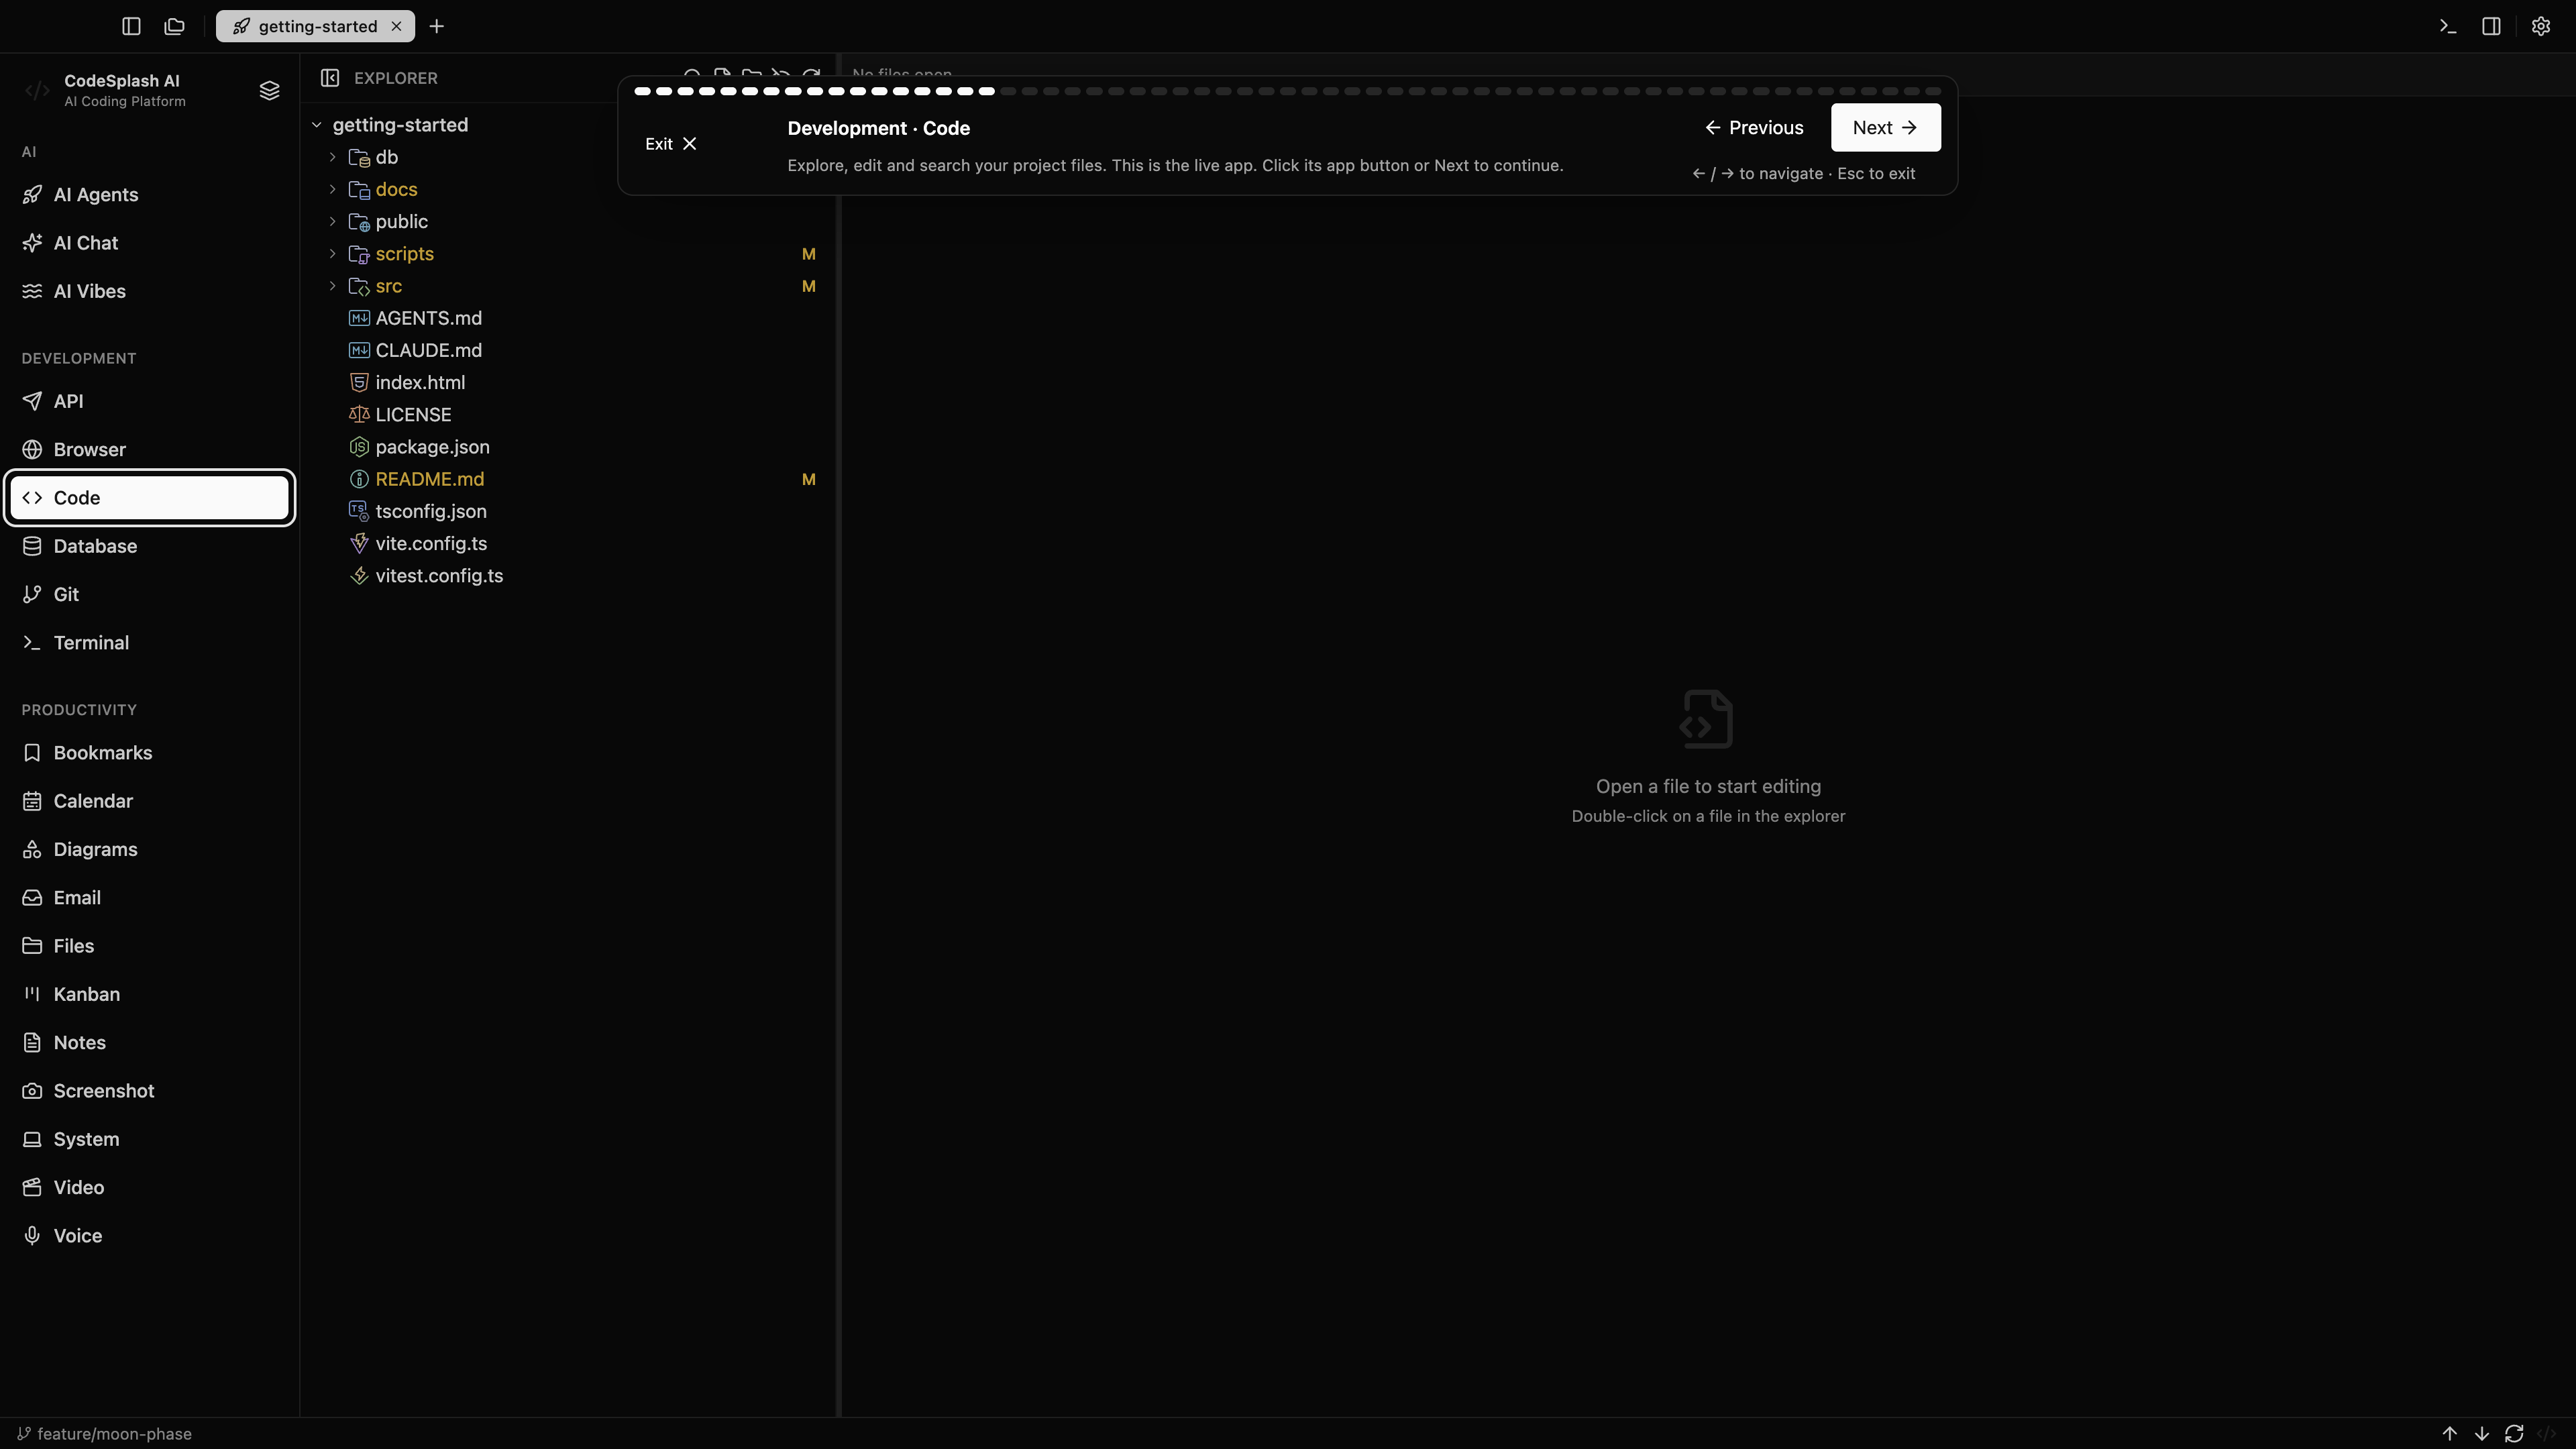
Development · Code · View the original 4K screenshot
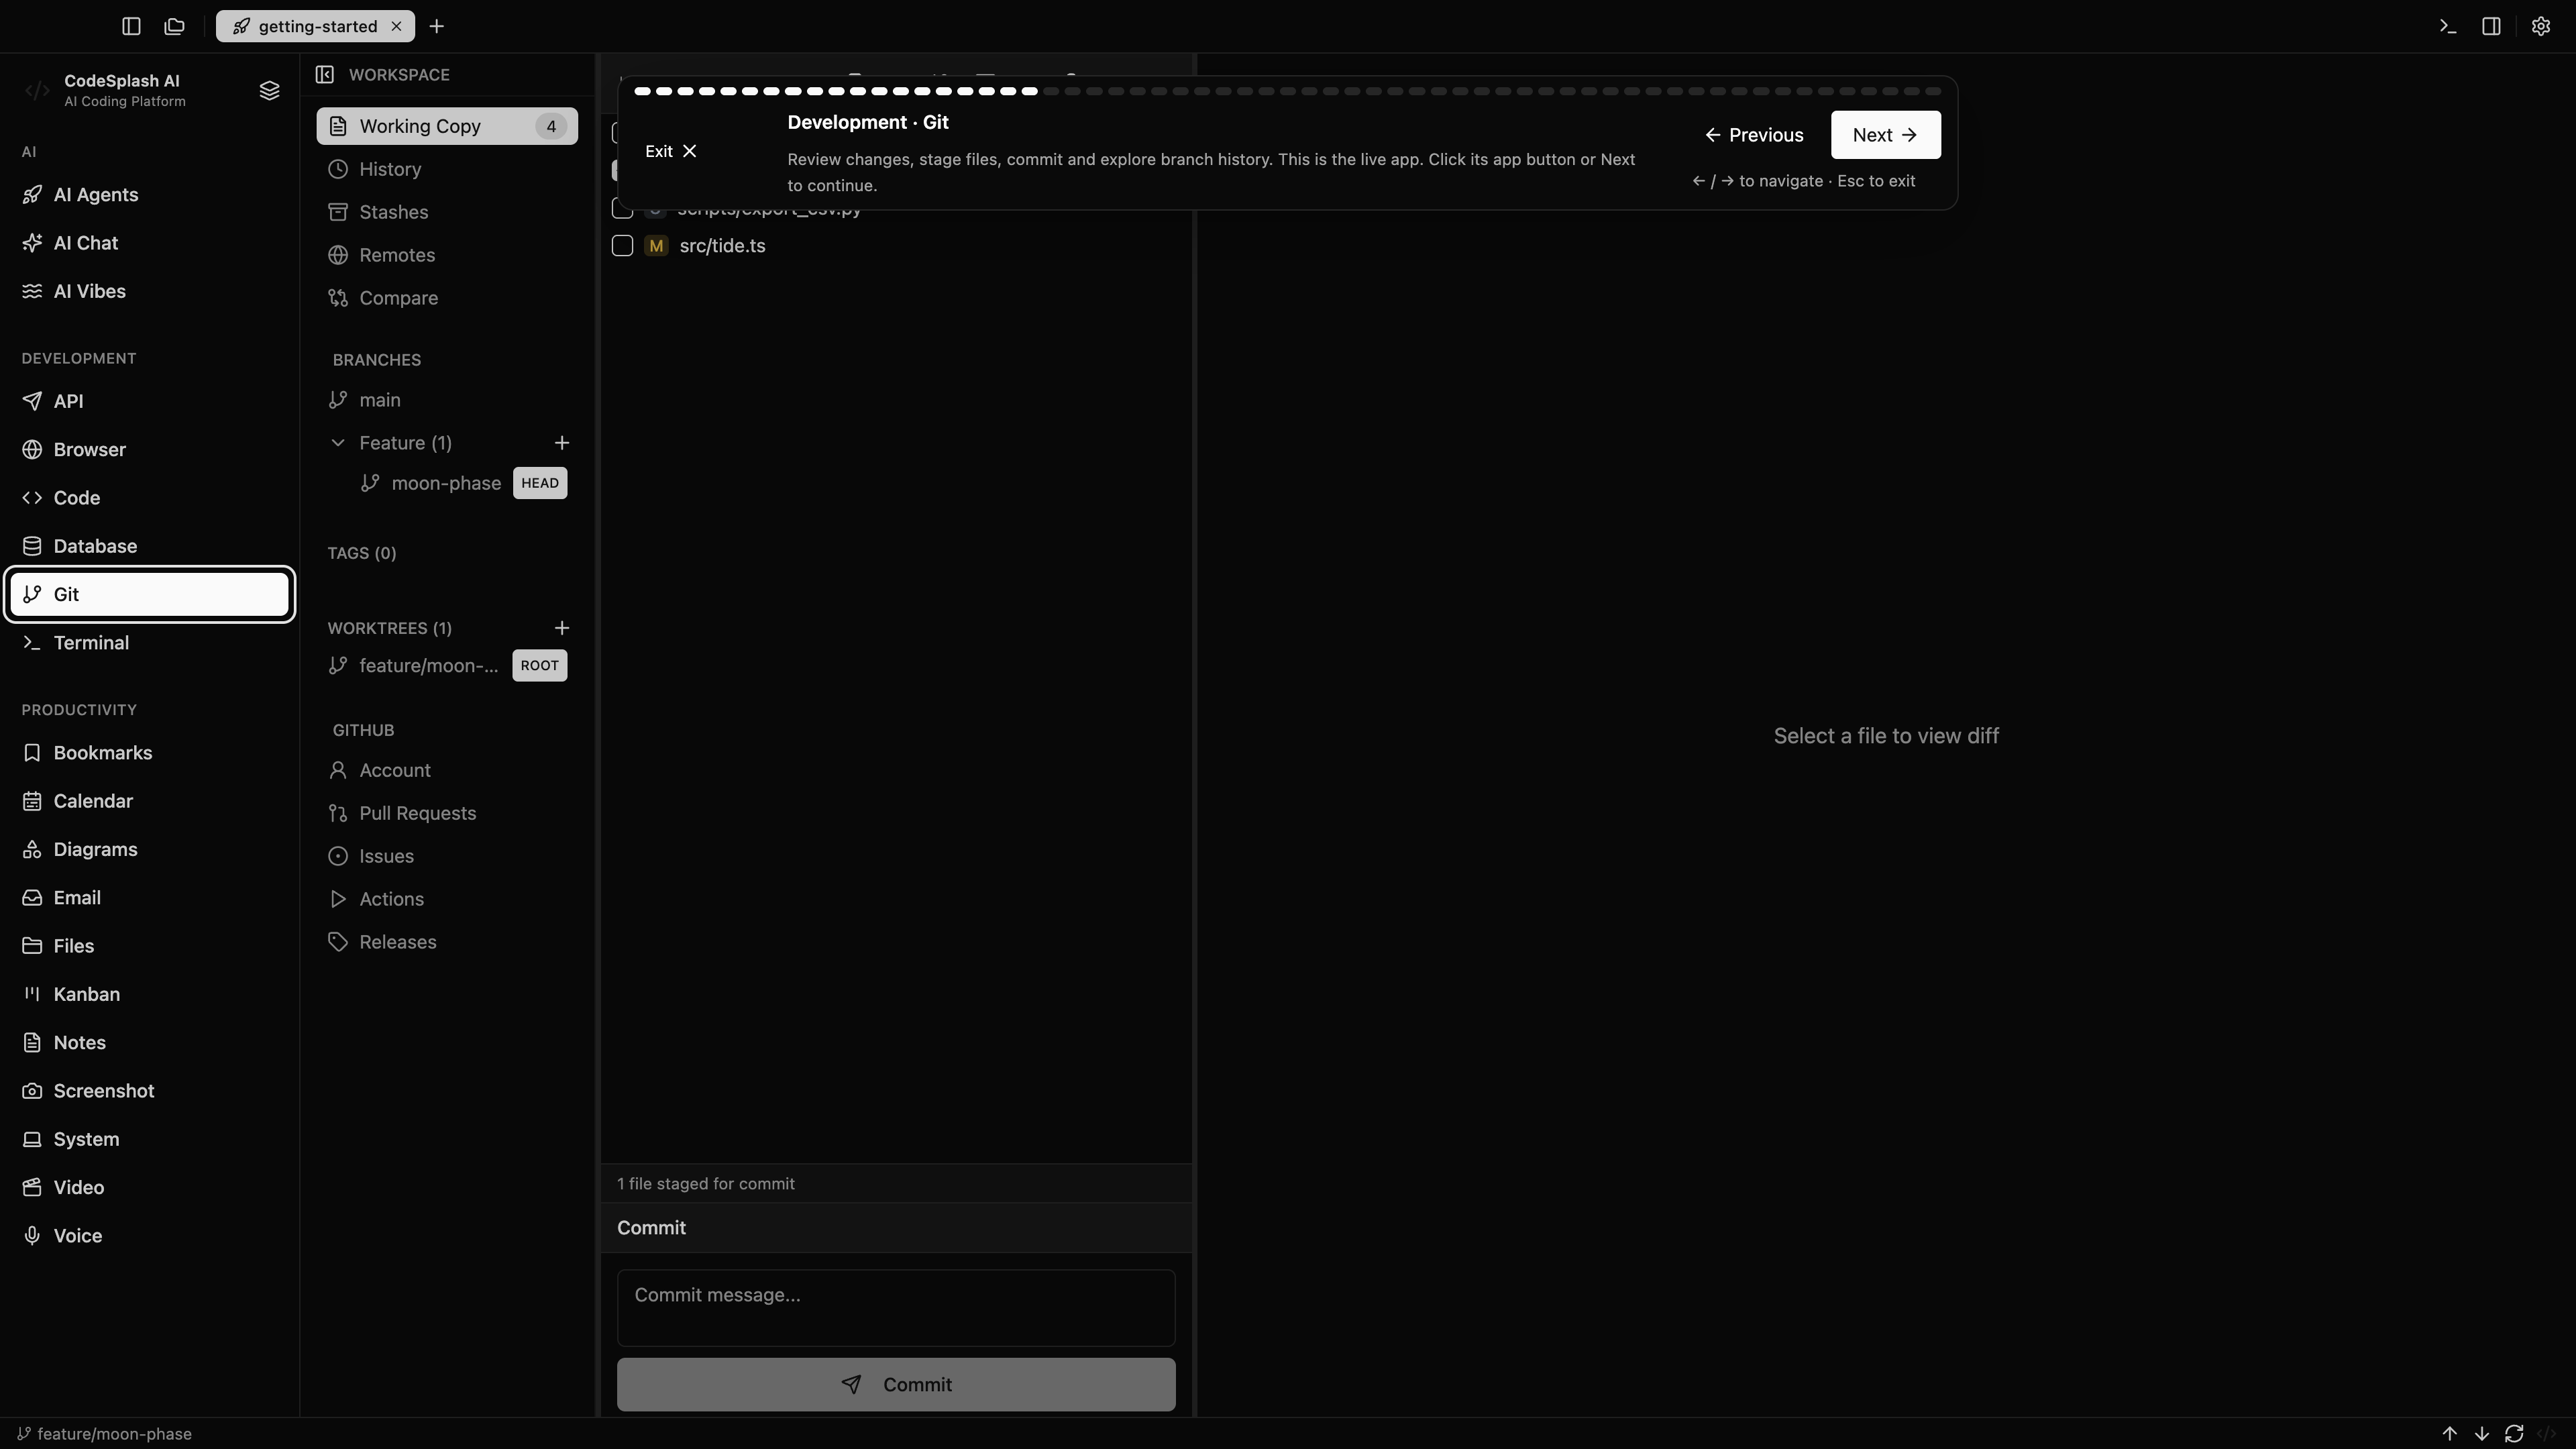
Development · Git · View the original 4K screenshot
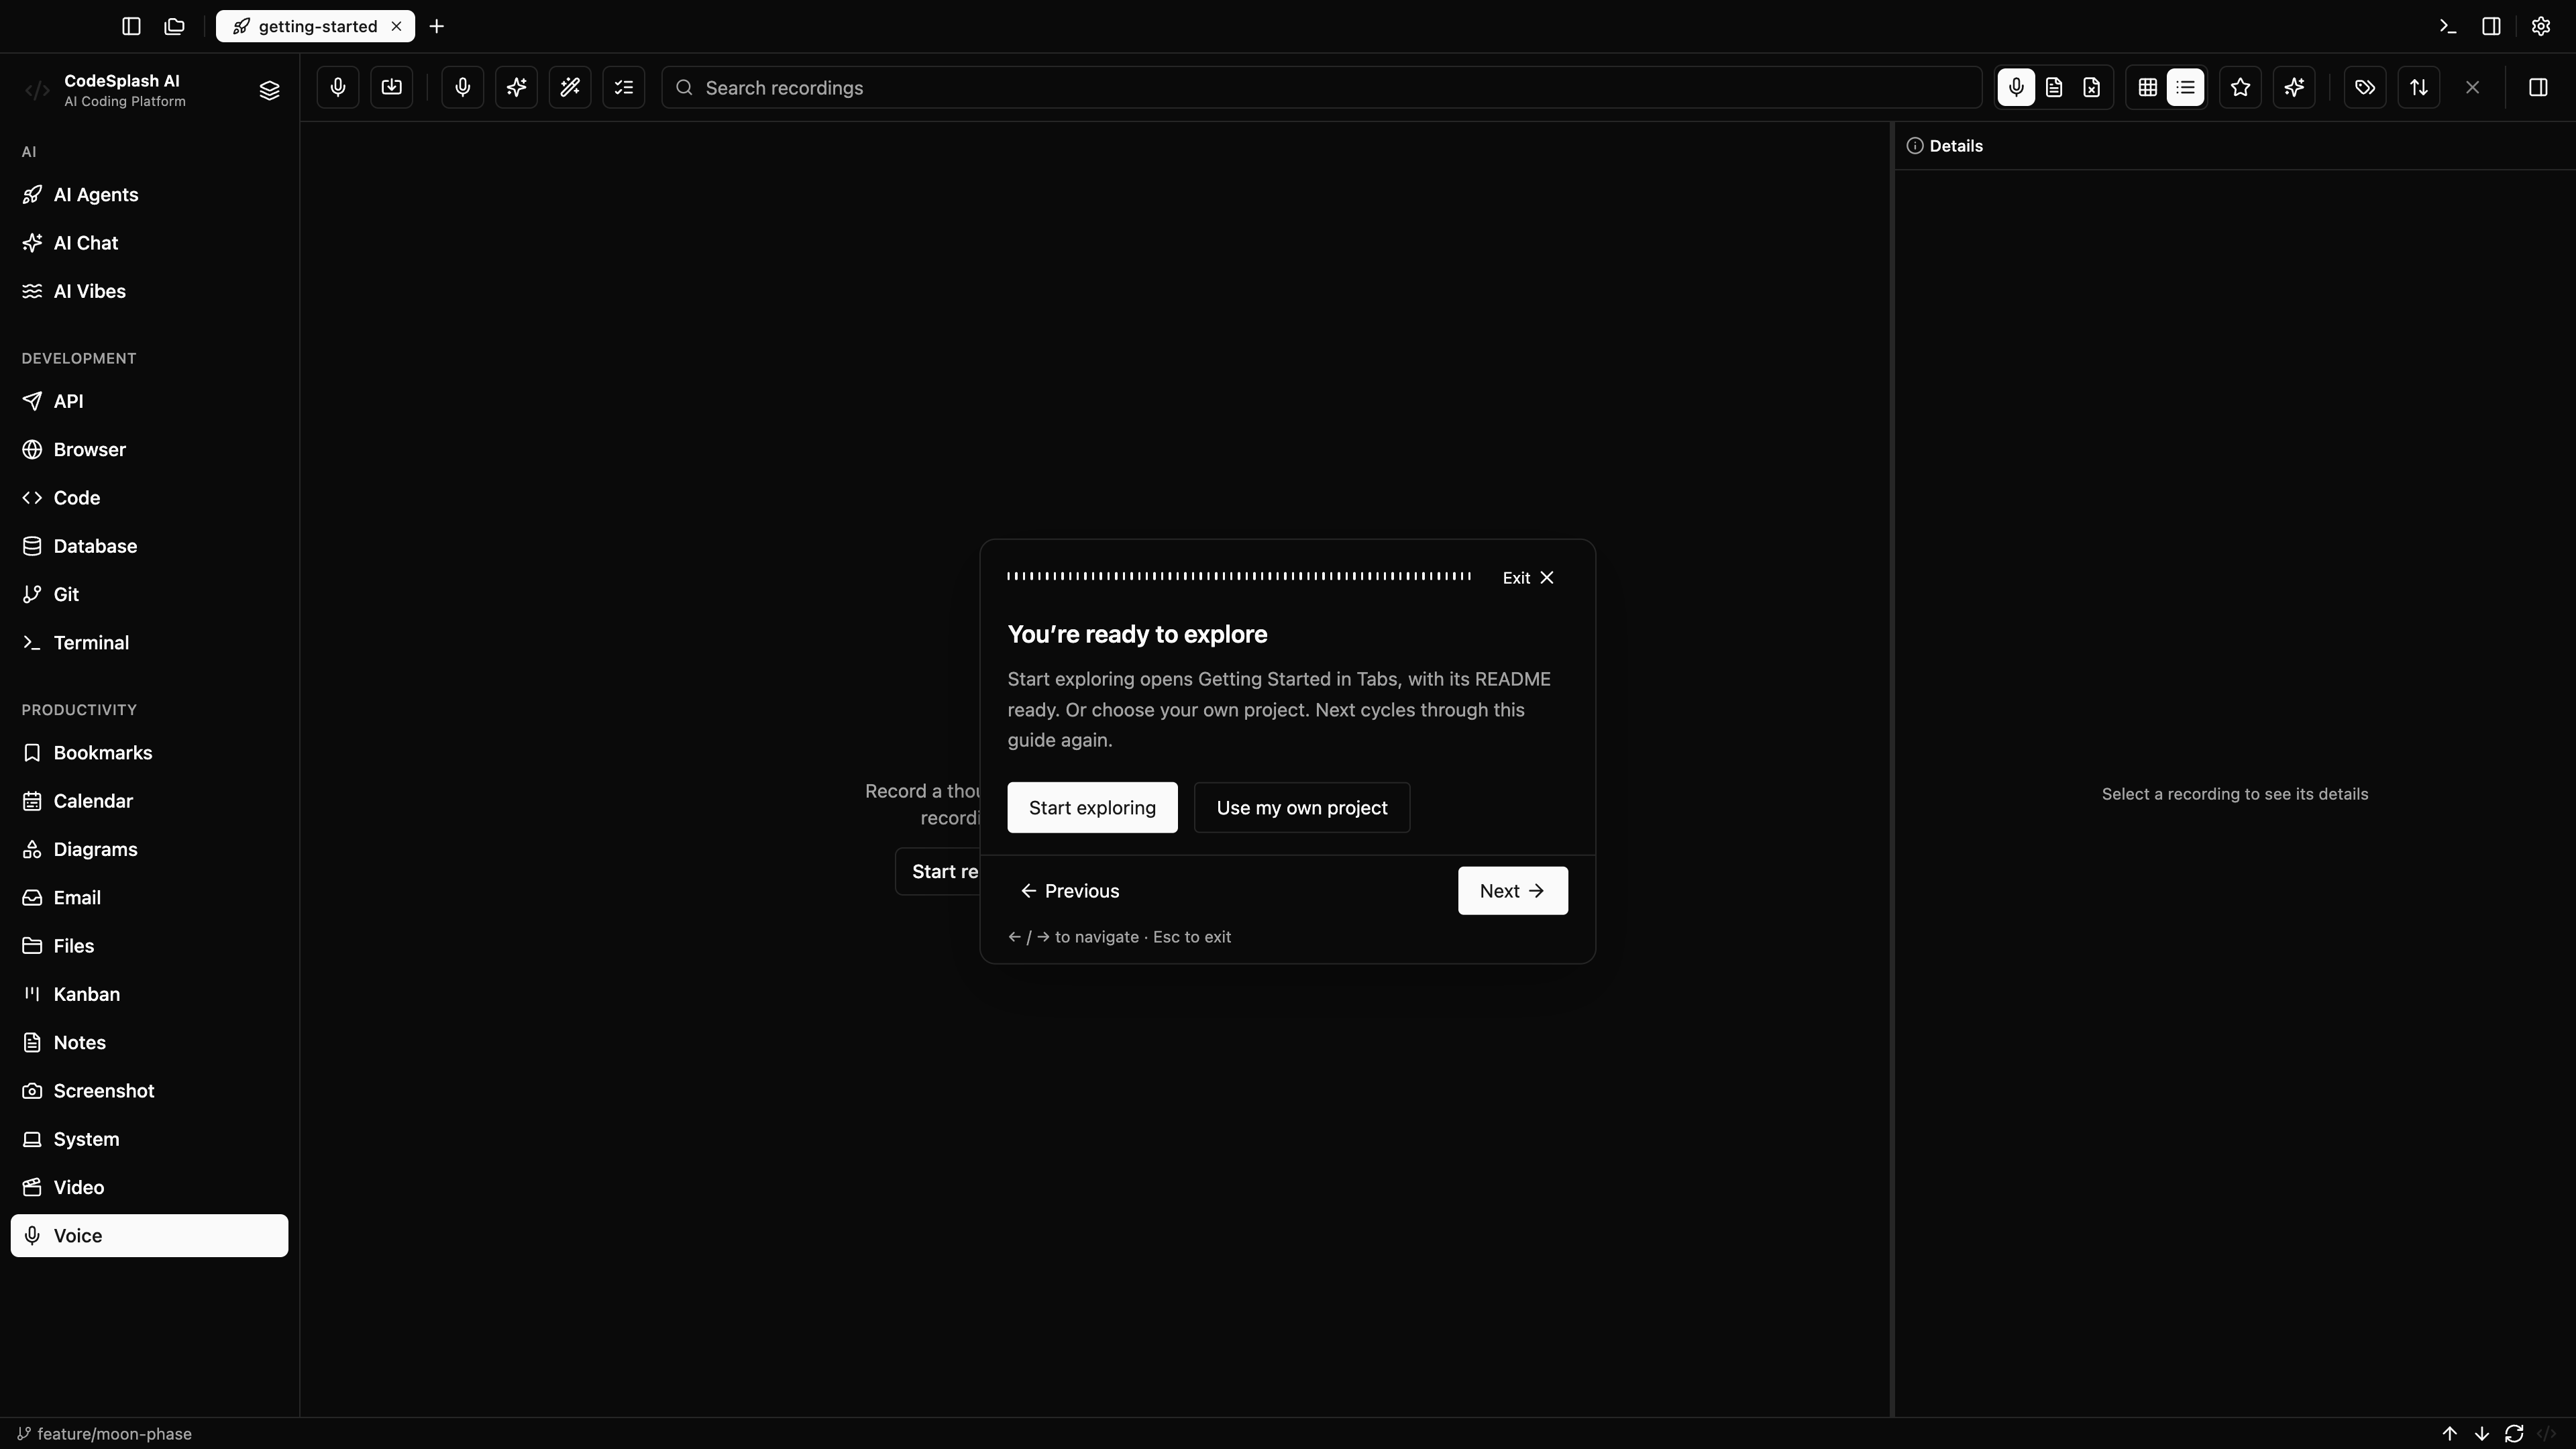
You’re ready to explore · View the original 4K screenshot